
Directions:
- Fill a large bowl with ice and fill halfway with water. This is the ice bath you will use to stop the cooking after you blanch the garlic.
- Bring a very large pot of water to a full rolling boil. Place all the garlic in the boiling water and blanch for 1 minute. Do not wait for the water to return to a boil, begin timing the minute as soon as you place the garlic in the water.
- Drain the garlic and place it in the ice water bath. Let the garlic stay in the ice water until it is entirely cool.
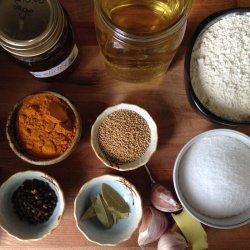
- In a large nonreactive pot, combine the vinegar, pickling salt and sugar. Bring just to a boil over high heat, stirring to make sure all the salt and sugar are dissolved.
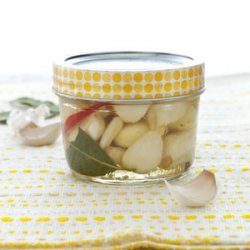
- Distribute the spices evenly between 4 pint jars: 1/2 teaspoon crushed red pepper flakes, 1/8 teaspoon celery seed, 1/4 teaspoon dried oregano, 3 peppercorns and one bay leaf in each jar. If you are using Pickle Crisp, now is the time to add it. Add 1/4 teaspoon to each jar.
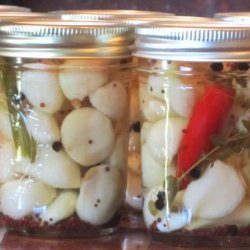
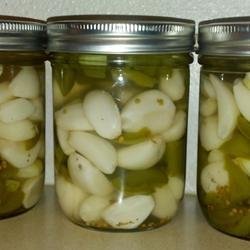
- Distribute the garlic evenly between the 4 jars, leaving 1 headspace.
- Ladle the boiling vinegar mixture into the filled jars, leaving 1/2 headspace.
- Use a chopstick or other thin, non-metal utensil to run around the sides of the jar to make sure there are no air bubbles left in the jar. Wipe the rims of the jars with damp paper towels to remove any brine which got on the rims or the threads. Place the lids and the bands on the jars, just tightening the bands fingertip tight.
- Process in a boiling water bath for 15 minutes, then remove and let sit, undisturbed, for at least 12 hours before checking seals. It is important to let them sit undisturbed for 12 hours because the sealing compound on the lids is still cooling and hardening, completing the seal. While the jars cool, you will hear a plink type sound from each jar - this is the jars completing the vacuum seal as the final air escapes the jar. After 12 hours have passed, remove the bands and check the lids - press down in the center of the lid. If you cannot push the lid down any further, the jar is sealed. If the lid gives a bit, and you can push it down, the jar did not seal. You can either put the band back on the jar, and reprocess it for another 15 minutes, or you can just put it in the fridge and use it within 3 months.
- Let the garlic sit for at least a month before using, so the flavors can develop. The longer it sits, the better it gets.
Nutrition Facts
| Amount Per 1 Serving | |||
| Calories | 421.33 Kcal (1764 kJ) | ||
| Calories from fat | 20.91 Kcal | ||
| % Daily Value* | |||
| Total Fat | 2.32g | 4% | |
|---|---|---|---|
| Sodium | 1206.62mg | 50% | |
| Potassium | 921.61mg | 20% | |
| Total Carbs | 85.15g | 28% | |
| Sugars | 12.12g | 48% | |
| Dietary Fiber | 4.67g | 19% | |
| Protein | 13.67g | 27% | |
| Vitamin C | 71.7mg | 119% | |
| Iron | 4.7mg | 26% | |
| Calcium | 432mg | 43% | |
| Amount Per 100 g | |||
| Calories | 87.92 Kcal (368 kJ) | ||
| Calories from fat | 4.36 Kcal | ||
| % Daily Value* | |||
| Total Fat | 0.48g | 4% | |
|---|---|---|---|
| Sodium | 251.79mg | 50% | |
| Potassium | 192.32mg | 20% | |
| Total Carbs | 17.77g | 28% | |
| Sugars | 2.53g | 48% | |
| Dietary Fiber | 0.98g | 19% | |
| Protein | 2.85g | 27% | |
| Vitamin C | 15mg | 119% | |
| Iron | 1mg | 26% | |
| Calcium | 90.2mg | 43% | |
* Percent Daily Values are based on a 2000 calorie diet. Your daily values may be higher or lower depending on your calorie needs.
Find out how many calories should you eat.
Try this similar recipes
-
Pickled Garlic With Chili and Herbs
Head garlic (about 6 cups of peeled cloves) and 9 more.. -
Piccalilli
Green tomatoes, chopped and 20 more.. -
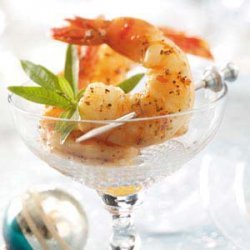
Pickled Shrimp
Olive oil, Red wine vinegar, Tomato paste, Sugar and 10 more.. -
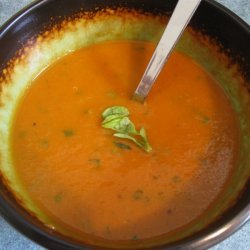
Creamy Tomato Soup (Vegetarian)
Unsalted butter, Extra-virgin olive oil and 11 more.. -
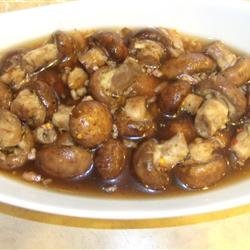
Marinated Mushrooms
Button mushrooms, Salt, White sugar, Crushed red pepper and 7 more.. -
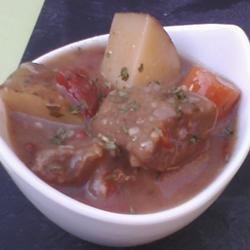
Greek Style Beef Stew
Olive oil, Cubed beef stew meat, Onion, peeled and chopped and 19 more.. -
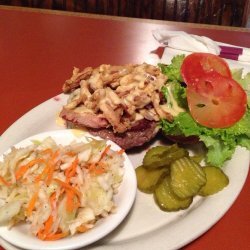
Sweet and Sour Cole Slaw
Cabbage, White onions, Sugar, White vinegar, Salt, Sugar and 3 more.. -

Marinated Mushrooms
Salad oil, Red wine vinegar, Salt, Sugar, Basil and 6 more.. -
Pork Chops Alla Pizzaiola with Dumplings
Pork blade steaks or 4 pork sirloin steaks, each cut 3/4 ... and 14 more.. -
Mussels Fra Diavolo
Dozen mussels, Oil, Onion, chopped, Green pepper, chopped and 12 more.. -
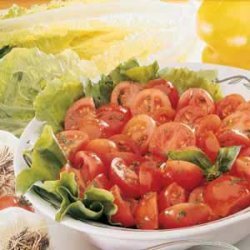
Cherry Tomato Salad
Tomatoes, halved, Canola oil, White vinegar, Salt, Sugar and 3 more.. -
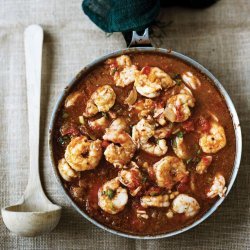
Shrimp Creole
Olive oil, Flour, Stalks celery, finely chopped and 14 more.. -
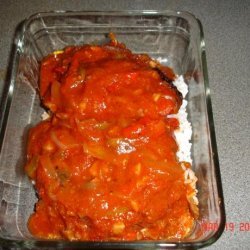
Salsa
Tomatoes, cored, peeled and chopped, Onions, chopped and 8 more..
Also Try

Get Your Recipe of Health!
Follow RecipeOfHealth on Facebook!
