
Directions:
- Optionals: rubber stamps; ink pads; use different colored pads for a rainbow effect; shallow plastic plaster mold (s), small Christmas figurines/ornaments; flowers or fruits for magnets, brooches or earrings; cookie stamps; craft paints; eyeshadow; magnets; fittings for earrings or brooches; glitter; ribbon/string; glue.
- In a pan mix the baking soda with the cornstarch.
- Add the water and the oil, keep stirring and cook until thickened and it looks like you have mashed potatoes in the pan, usually after 5 minutes up to 10 minutes on a low heat.
- Remove from the heat and cool.
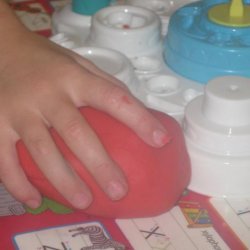
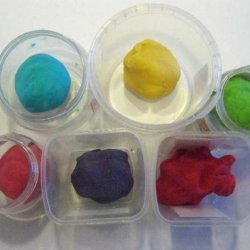
- Knead the clay, it should not be sticky, if too dry add a bit more water, too wet add some cornstarch, put in a plastic bag.
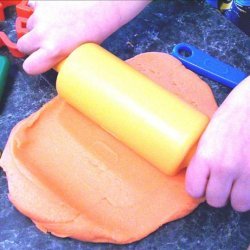
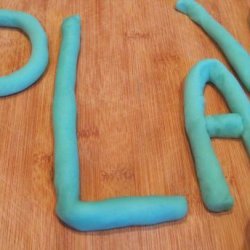
- Super easy is to roll it out and cut out shapes with a cookie cutter, pierce a hole in the top.
- Rubber stamps: ink the stamp, roll out the clay,very gently stamp into the clay,if you do this too hard it will definitely crack during drying, with a small knife cut away around the stamp impression, flatten rough edges gently with your fingers.
- Use a spatula to lift onto baking tray lined with kitchen paper, to let it dry, don;t forget the hole in the top.
- When dry you can still paint it if you want too.
- Plaster molds: use enough clay to fill the mold, use your rolling pin to even it out, it should go over the edges of the mold, carefully and gently ease the clay out of the mold, sometimes a thin knife helps to give you a grip on the clay.
- When out of the mold trim with a knife and smooth the edges with your fingers.
- Again let it dry, for ornaments pierce the hole in the top, leave plain for kitchen magnets or earrings and brooches.
- Cookie stamps: Use like stamps but without the ink for a nice embossed look.
- You can finish them when they are dry with craft paints and you get a beautiful result using eyeshadow with a soft brush almost a water color effect, blusher works too.
- For an old/antique look, brush on antiquing medium,wipe off with a soft cloth right away, take in mind that there are water and oil based mediums and they will have to be used different so read directions first and try it out first on the back of your clay object and you might have to varnish it before you can use the medium.
- If you want to use glitter, brush a thin layer of glue on the area, sprinkle with the glitter shake of the excess glitter.
- Drying time depends on the thickness, keep an eye on them and turn them over during the drying process.
- Leftover clay keeps for a few days in the fridge, keep it in the bag, personally I prefer it kept outside the fridge.
- I do find that when the weather is hot and humid, it seems to crack more during the drying process.
Nutrition Facts
| Amount Per 1 Serving | |||
| Calories | 131.68 Kcal (551 kJ) | ||
| Calories from fat | 10.19 Kcal | ||
| % Daily Value* | |||
| Total Fat | 1.13g | 2% | |
|---|---|---|---|
| Sodium | 30204.79mg | 1259% | |
| Potassium | 0.96mg | 0% | |
| Total Carbs | 29.12g | 10% | |
| Dietary Fiber | 0.32g | 1% | |
| Calcium | 8.5mg | 1% | |
| Amount Per 100 g | |||
| Calories | 59.23 Kcal (248 kJ) | ||
| Calories from fat | 4.58 Kcal | ||
| % Daily Value* | |||
| Total Fat | 0.51g | 2% | |
|---|---|---|---|
| Sodium | 13586.4mg | 1259% | |
| Potassium | 0.43mg | 0% | |
| Total Carbs | 13.1g | 10% | |
| Dietary Fiber | 0.14g | 1% | |
| Calcium | 3.8mg | 1% | |
* Percent Daily Values are based on a 2000 calorie diet. Your daily values may be higher or lower depending on your calorie needs.
Find out how many calories should you eat.
Try this similar recipes
-
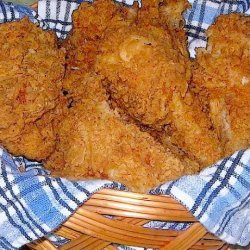
K F C Extra Crispy Chicken (Copycat)
Premium quality fresh young roasting chicken, cut-up and 20 more.. -
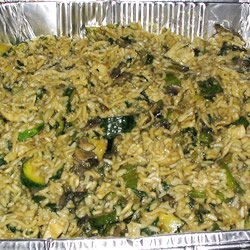
Chicken Veggie Stir Fry
Vegetable oil and 11 more.. -
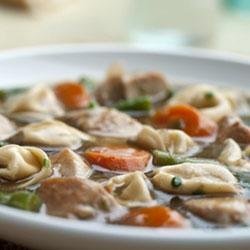
Chicken and Tortellini Stew
Cornstarch, Water, Vegetable oil and 7 more.. -
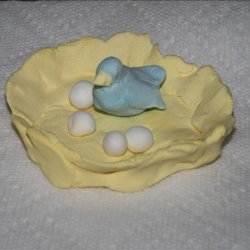
Pearly Soda Play Clay
Baking soda, Cornstarch, Water -

Craft Dough for Ornaments
Baking soda, Cornstarch, Cold water -
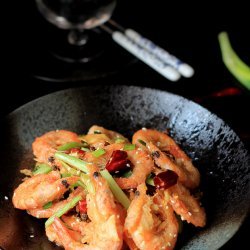
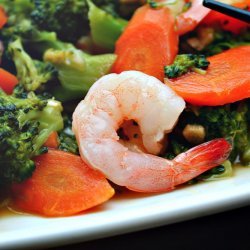
Szechuan Shrimp
Cornstarch, Water, divided, Vegetable oil and 8 more.. -
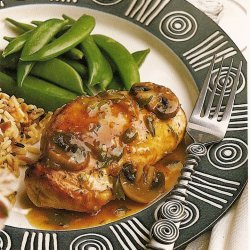
Saucy Chicken Bake
Cornstarch, Cold water, Vegetable oil and 8 more.. -
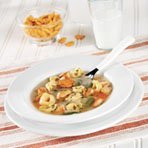
Chicken With Tortellini Stew
Cornstarch, Water, Vegetable oil and 7 more.. -
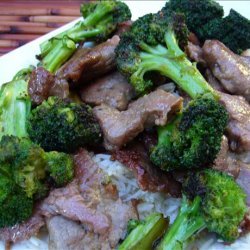
Beef With Broccoli
Flank steak, Rice wine or 1 tsp dry sherry, Baking soda and 13 more.. -
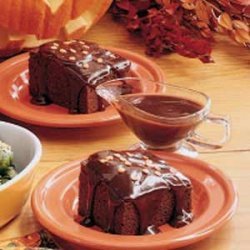
Microwave Chocolate Cake
King arthur unbleached all-purpose flour, Sugar and 15 more.. -
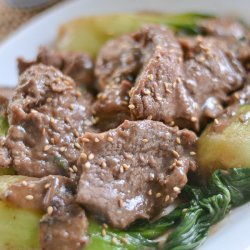
Stir-Fried Beef With Bok Choy
Beef flank steak or 1 lb boneless sirloin steak and 17 more.. -
Shrimp in Garlic Sauce
Shrimp, peeled (21 to 25 per lb) and 18 more.. -
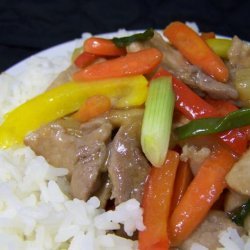
Stir-Fried Pork With Sweet and Sour Sauce
Pork loin (boneless ), Cornstarch, Salt and 15 more..
Also Try


Get Your Recipe of Health!
Follow RecipeOfHealth on Facebook!
