
Directions:
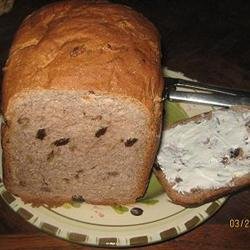
- This is such a fantastic combination and really works will as a table bread served with anything. It's especially good with a little ploughman's lunch and even better in a cheddar cheese sandwich with Branston Pickle. The sweetness of the raisins makes it absolutely fantastic, so give it a go.
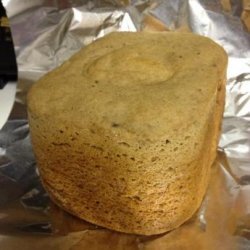
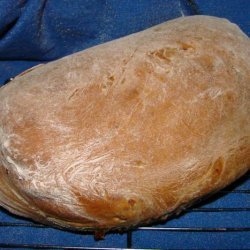
- Start making your basic bread dough, adding the rosemary and raisins at the start of Stage 3. You may want to add a little more flour if the dough is too sticky. Continue with the basic recipe until the dough is nice and elastic, then allow it to proof for about 30 to 60 minutes. Divide the dough in 1/2 and knead it with a little extra flour you can shape it any way you like, but I like to make 2 long sausage-shaped loaves.
- Place on a tray, dust with flour, and leave to proof again until doubled in size. Score down the length of the bread with a really sharp knife (sometimes I poke a stick of rosemary into each loaf) and bake in a preheated 350 degrees F (180 degrees C/gas 4) oven for around 25 minutes, until golden brown and crisp. Leave to cool before eating.
- The Perfect Basic Bread Recipe:
- 1-ounce (30 grams) fresh yeast or 37 gram) sachets of dried yeast
- 1-ounce (30 grams) honey (or sugar)
- Just over 1 pint (625 milliliters) tepid water
- Just over 2 pounds (1 kilogram) strong bread flour, plus extra for dusting
- 1-ounce (30 grams) salt
- Stage 1: Dissolve the yeast and honey (or sugar) in 1/2 the tepid water.
- Stage 2: On a clean surface or in a large bowl, make a pile of the flour and salt. Make a well in the centre and pour in all the dissolved yeast mixture. With 4 fingers of 1 hand, make circular movements from the centre moving outwards, slowly bringing in more and more of the flour until all the yeast mixture is soaked up. Then pour the other 1/2 of the tepid water into the centre and gradually incorporate all the flour to make a moist dough. (Certain flours may need a little more water, so don't be afraid to adjust the quantities.)
- Stage 3: Kneading! This is the best bit, just rolling, pushing and folding the dough over and over for 5 minutes. This develops the gluten and the structure of the dough. If any of the dough sticks to your hands, just rub them together with a little extra flour.
- Stage 4: Flour both your hands well, and lightly flour the top of the dough. Make it into a roundish shape and place it on a baking tray. Score it deeply with a knife allowing it to relax and proof with ease until it's doubled in size. Ideally you want a warm, moist, draught-free place for the quickest prove, for example near a warm cooker or in the airing cupboard, and you could cover it with cling film if you want to speed things up. This proofing process improves the flavour and texture of the dough and should take around 40 minutes, depending on the conditions.
- Stage 5: When the dough has doubled in size you need to knock the air out of it by bashing it around for a minute. Now you can shape it into whatever shape is required - round, flat, filled, trayed up, tinned up or whatever - and leave it to proof for a second time until it doubles in size again. The important thing is not to lose your confidence now. Don't feel a need to rush through this, because the second proofing time will give you the lovely, delicate soft texture that we all love in fresh bread.
- Stage 6: Now it's time to cook your loaf. Bake in a preheated 350 degrees F (180 degrees C) oven for about 25 minutes. You want to keep all the air inside it, so gently place it in the preheated oven and don't knock it or slam the door. You can tell if your bread is cooked by tapping its bottom (if it's in a tin you'll have to take it out). If it sounds hollow it's cooked, if it doesn't then pop it back in for a little longer. Put it on a rack to cool before tucking in!
- (c) Jamie Oliver 2002
Nutrition Facts
| Amount Per 1 Serving | |||
| Calories | 0.23 Kcal (1 kJ) | ||
| Calories from fat | 0.09 Kcal | ||
| % Daily Value* | |||
| Total Fat | 0.01g | 0% | |
|---|---|---|---|
| Sodium | 0.05mg | 0% | |
| Potassium | 1.17mg | 0% | |
| Total Carbs | 0.04g | 0% | |
| Dietary Fiber | 0.02g | 0% | |
| Protein | 0.01g | 0% | |
| Calcium | 0.6mg | 0% | |
| Amount Per 100 g | |||
| Calories | 131 Kcal (548 kJ) | ||
| Calories from fat | 54 Kcal | ||
| % Daily Value* | |||
| Total Fat | 6g | 0% | |
|---|---|---|---|
| Sodium | 26mg | 0% | |
| Potassium | 668mg | 0% | |
| Total Carbs | 21g | 0% | |
| Dietary Fiber | 14g | 0% | |
| Protein | 3g | 0% | |
| Vitamin C | 22mg | 0% | |
| Iron | 7mg | 0% | |
| Calcium | 317mg | 0% | |
* Percent Daily Values are based on a 2000 calorie diet. Your daily values may be higher or lower depending on your calorie needs.
Find out how many calories should you eat.
Try this similar recipes
-
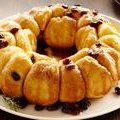
Overnight Monkey Bread (Alton Brown)
Egg yolks, room temperature, Whole egg, room temperature and 13 more.. -
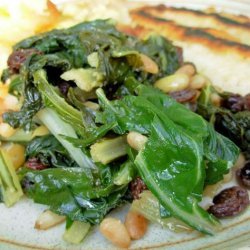
French Swiss Chard
Swiss chard, Butter, Olive oil, Fresh rosemary, chopped and 4 more.. -
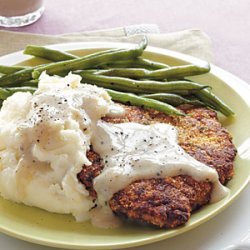
Chicken-Fried Steak with Soy Milk Gravy
Basic breading mix for fried foods and 9 more.. -
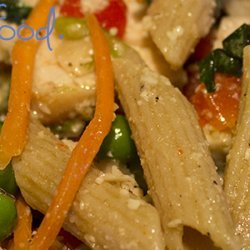
Pasta Salad With Chicken and Vegetables
Minced fresh rosemary, Olive oil, Red wine vinegar and 15 more.. -
Raspberry-Glazed Rosemary Chicken
Crushed rosemary, Rubbed sage, Dried oregano and 5 more.. -
Rosemary Rib Roast
Chopped fresh rosemary (about five 1/2-oz packages) and 5 more..
Also Try
-

-
-
-
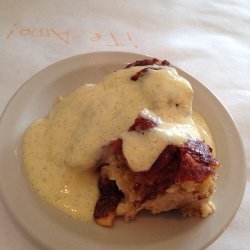
Apple, Rum and Raisin Bread Pudding
Milk or 2 1/2 cups light cream, Eggs, Vanilla extract and 7 more.. -
-
Oz's Banana-Nut and Raisin Bread for ABM
Milk, room temperature, Butter, softened, Ripe bananas and 7 more.. -
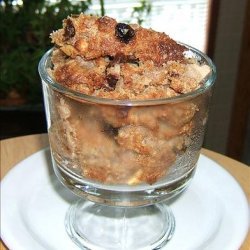
Apple Sauce, Banana and Raisin Bread Pudding
Chopped bread, Granny smith apple, peeled and chopped and 11 more.. -
Cranberry and Raisin Bread Pudding With Caramel Sauce
Raisin bread, cubed, White bread, cubed, Evaporated milk and 11 more.. -
Jamie Oliver - Beef and Guinness Stew With Dumplings
Stewing beef, diced, Onion, chopped, Garlic cloves, minced and 14 more.. -
Get Your Recipe of Health!
Follow RecipeOfHealth on Facebook!
