
Ingredients:
- 1 recipe basic bread recipe , recipe follows
- just over 1 pint (625 milliliters) tepid water
- just over 2 lb (1 kilogram) strong bread flour, plus extra for dusting
Directions:
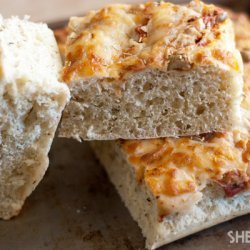
- Make up your basic bread recipe and allow to proof for 40 minutes. While it's proofing, prick your tomatoes with a knife and drop them into boiling water for around 30 seconds. Drain, cool them under cold water, and remove the skins, keeping them whole if possible, as they're nice and small. Put the tomatoes in a bowl, cover with the olive oil and put to1 side. I usually make 1 large focaccia but you can make 2 smaller ones if you like.
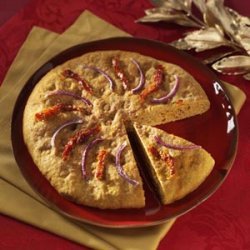
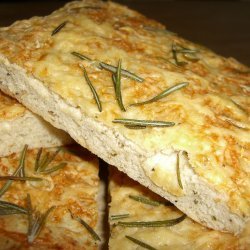
- Take your proofed dough and bash the air out, then put it on a floured surface and roll it out about 1-inch (2.5 centimeters) thick. Transfer it to a floured baking tray and push the dough to fill the tray. Pour over the olive oil and tomatoes and sprinkle over the basil. Push your fingers to the bottom of the tray across the whole dough, using them like a poker, pushing them through the dough and then flattening them out when you hit the tin. This gives the bread its classic shape and makes indentations so you get little pools of oil while it's cooking. Leave to proof until it has doubled in size again then sprinkle with salt and pepper and carefully place into a preheated oven at 425 degrees F (220 degrees C/gas 7). Cook for around 20 minutes, until the bread is crisp and golden on top and soft in the middle. Drizzle with more extra-virgin olive oil when you take it out of the oven.
- (c) Jamie Oliver 2002
- The Perfect Basic Bread Recipe:
- Stage 1: Dissolve the yeast and honey (or sugar) in 1/2 the tepid water.
- Stage 2: On a clean surface or in a large bowl, make a pile of the flour and salt. Make a well in the centre and pour in all the dissolved yeast mixture. With 4 fingers of 1 hand, make circular movements from the centre moving outwards, slowly bringing in more and more of the flour until all the yeast mixture is soaked up. Then pour the other 1/2 of the tepid water into the centre and gradually incorporate all the flour to make a moist dough. (Certain flours may need a little more water, so don't be afraid to adjust the quantities.)
- Stage 3: Kneading! This is the best bit, just rolling, pushing and folding the dough over and over for 5 minutes. This develops the gluten and the structure of the dough. If any of the dough sticks to your hands, just rub them together with a little extra flour.
- Stage 4: Flour both your hands well, and lightly flour the top of the dough. Make it into a roundish shape and place it on a baking tray. Score it deeply with a knife allowing it to relax and proof with ease until it's doubled in size. Ideally you want a warm, moist, draught-free place for the quickest prove, for example near a warm cooker or in the airing cupboard, and you could cover it with cling film if you want to speed things up. This proofing process improves the flavour and texture of the dough and should take around 40 minutes, depending on the conditions.
- Stage 5: When the dough has doubled in size you need to knock the air out of it by bashing it around for a minute. Now you can shape it into whatever shape is required - round, flat, filled, trayed up, tinned up or whatever - and leave it to proof for a second time until it doubles in size again. The important thing is not to lose your confidence now. Don't feel a need to rush through this, because the second proofing time will give you the lovely, delicate soft texture that we all love in fresh bread.
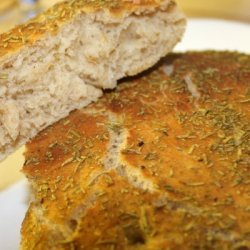
- Stage 6: Now it's time to cook your loaf. Bake in a preheated 350 degree F (180 degrees C) oven for about 25 minutes. You want to keep all the air inside it, so gently place it in the preheated oven and don't knock it or slam the door. You can tell if your bread is cooked by tapping its bottom (if it's in a tin you'll have to take it out). If it sounds hollow it's cooked, if it doesn't then pop it back in for a little longer. Put it on a rack to cool before tucking in!
Nutrition Facts
| Amount Per 1 Serving | |||
| Calories | 1433.89 Kcal (6003 kJ) | ||
| Calories from fat | 1344.02 Kcal | ||
| % Daily Value* | |||
| Total Fat | 149.34g | 230% | |
|---|---|---|---|
| Sodium | 568.06mg | 24% | |
| Potassium | 73.4mg | 2% | |
| Total Carbs | 24.8g | 8% | |
| Sugars | 0.84g | 3% | |
| Dietary Fiber | 0.96g | 4% | |
| Protein | 3.78g | 8% | |
| Vitamin C | 0.1mg | 0% | |
| Iron | 1.4mg | 8% | |
| Calcium | 15.9mg | 2% | |
| Amount Per 100 g | |||
| Calories | 733.45 Kcal (3071 kJ) | ||
| Calories from fat | 687.48 Kcal | ||
| % Daily Value* | |||
| Total Fat | 76.39g | 230% | |
|---|---|---|---|
| Sodium | 290.57mg | 24% | |
| Potassium | 37.54mg | 2% | |
| Total Carbs | 12.68g | 8% | |
| Sugars | 0.43g | 3% | |
| Dietary Fiber | 0.49g | 4% | |
| Protein | 1.93g | 8% | |
| Vitamin C | 0.1mg | 0% | |
| Iron | 0.7mg | 8% | |
| Calcium | 8.2mg | 2% | |
* Percent Daily Values are based on a 2000 calorie diet. Your daily values may be higher or lower depending on your calorie needs.
Find out how many calories should you eat.
Try this similar recipes
-
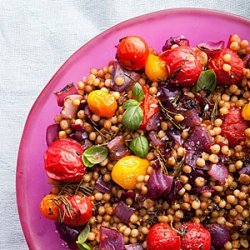
Fregola with Charred Onions and Roasted Cherry Tomatoes
Tomatoes, Extra-virgin olive oil, Rosemary, Thyme, Salt and 12 more.. -

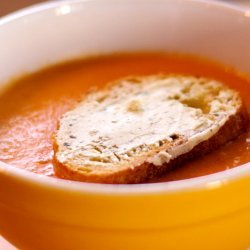
Roasted Garden Tomato Basil Soup
Tomatoes, cut into 8 wedges, Extra-virgin olive oil and 14 more.. -
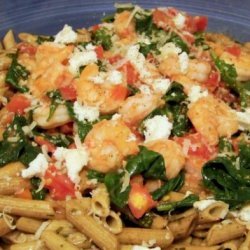
Pacific Northwest Prawn, Ricotta and Spinach Pasta
Extra virgin olive oil, Balsamic vinegar and 11 more.. -
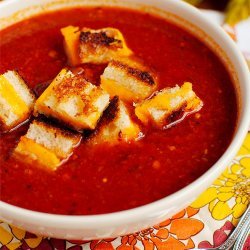
Roasted Tomato Soup With Croutons
Tomatoes, stemmed and quartered and 11 more.. -
Roasted Tomato Soup With Croutons
Tomatoes (about 4 lb, stemmed and quartered ) and 11 more.. -

Old Fashioned Tomato Cream Soup
Ripe tomatoes, peeled,seeded and chopped and 14 more.. -
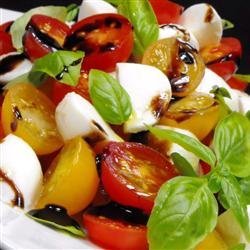
Insalata Caprese I
Ripe tomatoes, cut into wedges and 6 more.. -
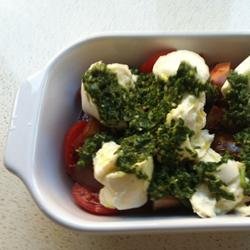
Smiling Caprese Salad
Tomatoes, cut into bite-size pieces and 5 more.. -
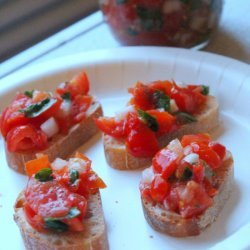
Bruschetta
Tomatos, Extra virgin olive oil, Garlic and 2 more.. -

Tomato Salad
Tomatoes, Extra virgin olive oil, Onions, Leaves basil and 1 more.. -
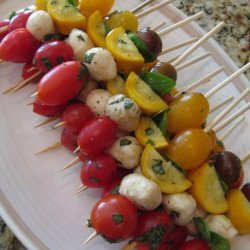
Fresh Caprese Vegetable Kabobs
Extra virgin olive oil, Lemon , juice of and 7 more.. -
No-Cook Pizza Sauce
Whole peeled italian tomatoes, Extra virgin olive oil and 6 more..
Also Try
-

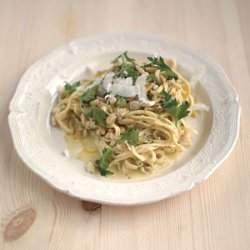
Jamie Oliver's Summertime Tagliarini
Pine nuts, divided, Zest and juice of 2 large lemons and 7 more.. -
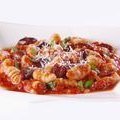
Gnocchi with Tomatoes, Basil and Olives (Giada De Laurentiis)
Russet potato, baked and cooled (see cook's note) and 9 more.. -
-
-
-
-
-
-

-
Get Your Recipe of Health!
Follow RecipeOfHealth on Facebook!
